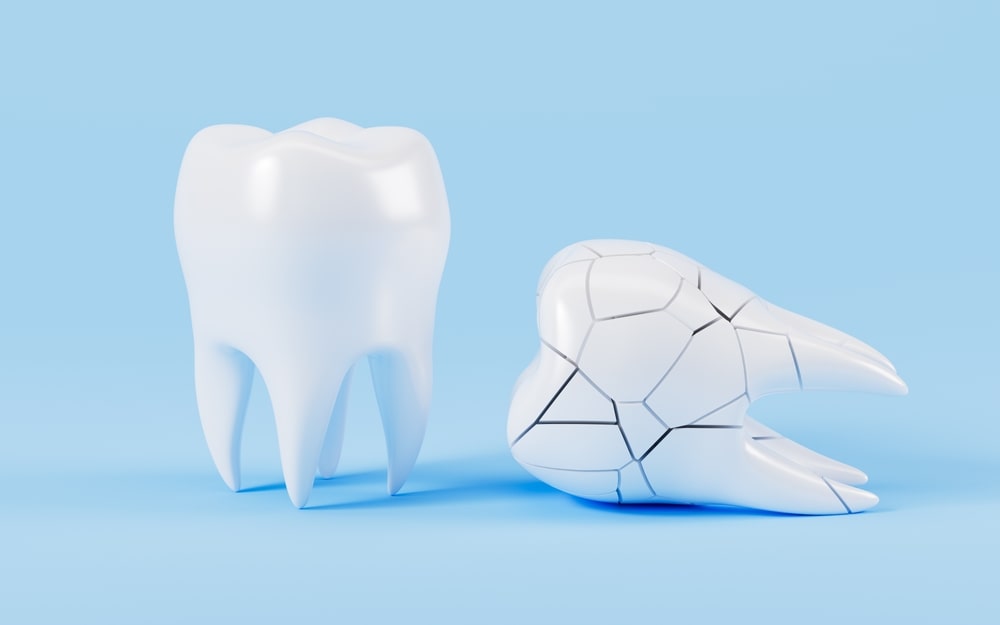
Imagine this: one moment, everything’s fine. The next, a sudden impact, a jolt of pain, and you look down to see it – an adult tooth, no longer in your mouth, but lying on the ground. Panic sets in. What do you do? Is it lost forever? Take a deep breath. This is a terrifying moment, but here’s a crucial piece of information: a chipped adult tooth can often be saved if you act quickly and correctly. This isn’t just about preserving your smile; it’s about preserving your natural tooth, which is always the best outcome for your long-term oral health. Today, we’re going to walk through the precise, time-sensitive steps that can make all the difference.
Think of this as your immediate action guide, designed to turn panic into effective first aid, just like a knowledgeable friend explaining something fascinating over coffee.
The Urgent Truth: Why Every Second Counts (The Golden Hour)
When an adult tooth is completely chipped– a dental emergency known as an avulsion – the clock starts ticking immediately.
The key to saving the tooth lies in the delicate cells on its root surface, specifically the periodontal ligament (PDL) cells. These cells are vital for the tooth to reattach to your jawbone.
Once the tooth is out of its socket, these cells begin to dry out and die.
Research consistently shows that the chances of successful re-implantation are highest if the tooth is put back into its socket within 30-60 minutes.
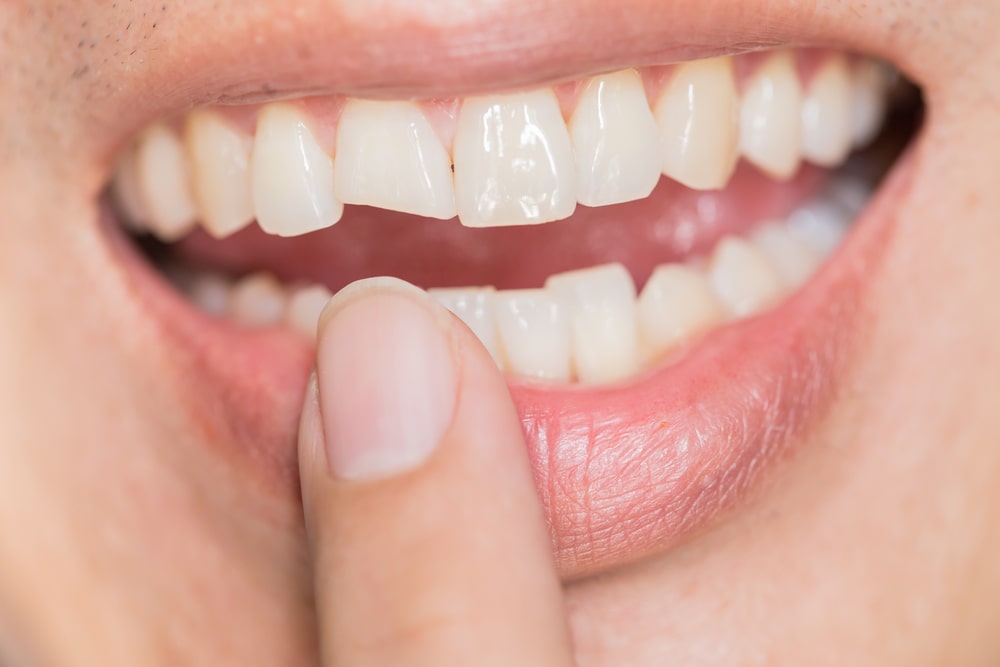
This critical period is often called the “golden hour.” After this window, the chances of long-term success decrease significantly.
It’s also crucial to understand the difference between adult (permanent) teeth and baby (primary) teeth.
These instructions apply ONLY to chipped adult teeth.
If a baby tooth is chipped, do NOT try to re-implant it, as this can damage the developing permanent tooth underneath. Instead, contact your dentist immediately for guidance.
Your Immediate Action Plan: 5 Critical Steps to Save a Chipped Tooth
The situation is stressful, but staying calm is the first step towards a successful outcome. Follow these steps precisely:
Step 1: Stay Calm & Ensure Safety
Before anything else, assess the situation for other injuries.
If there’s heavy bleeding, loss of consciousness, or suspected head/facial trauma, prioritize calling emergency medical services (911 in Canada) immediately. Once other serious injuries are ruled out, focus on the tooth.
Step 2: Find the Tooth and Handle with Extreme Care
Locate the chipped tooth. This next part is critical: only touch the crown of the tooth (the part you normally see in your mouth).
NEVER touch the root. The root surface contains those vital periodontal ligament (PDL) cells that are essential for reattachment.
Damaging them drastically reduces the tooth’s chance of survival. Hold the tooth carefully by its chewing surface.
Step 3: Gentle Rinse (If Dirty)
If the tooth is dirty (e.g., fallen on the ground), you need to clean it very gently.
- Hold it by the crown.
- Rinse it briefly for no more than 10 seconds under cold, running water or milk.
- Do NOT scrub the tooth.
- Do NOT use soap, alcohol, or any harsh chemicals.
- Do NOT wipe it with a cloth or tissue.
The goal is to remove debris without harming the delicate root cells.
Step 4: Re-implantation Attempt (If Feasible)
If the person with the chipped tooth is calm, alert, and cooperative, and you feel comfortable doing so, the best immediate action is to try and put the tooth back into its socket.
- Gently push the tooth back into place. Make sure it’s facing the correct direction (the same way it was before it was chipped).
- Use light pressure. You should feel it slide back into the socket.
- Once it’s in, have the person bite down gently on a piece of gauze, a clean cloth, or even their finger to hold it in place. This will help prevent it from falling out again.
This step is the absolute best way to preserve the tooth, as it immediately provides the ideal environment for the PDL cells.
Step 5: Proper Storage & Immediate Transport to the Dentist
If re-implantation isn’t possible (e.g., the patient is uncooperative, unconscious, or you’re unsure how to re-insert it), the next most critical step is to store and transport the tooth correctly. Moisture is key! Do NOT let the tooth dry out.
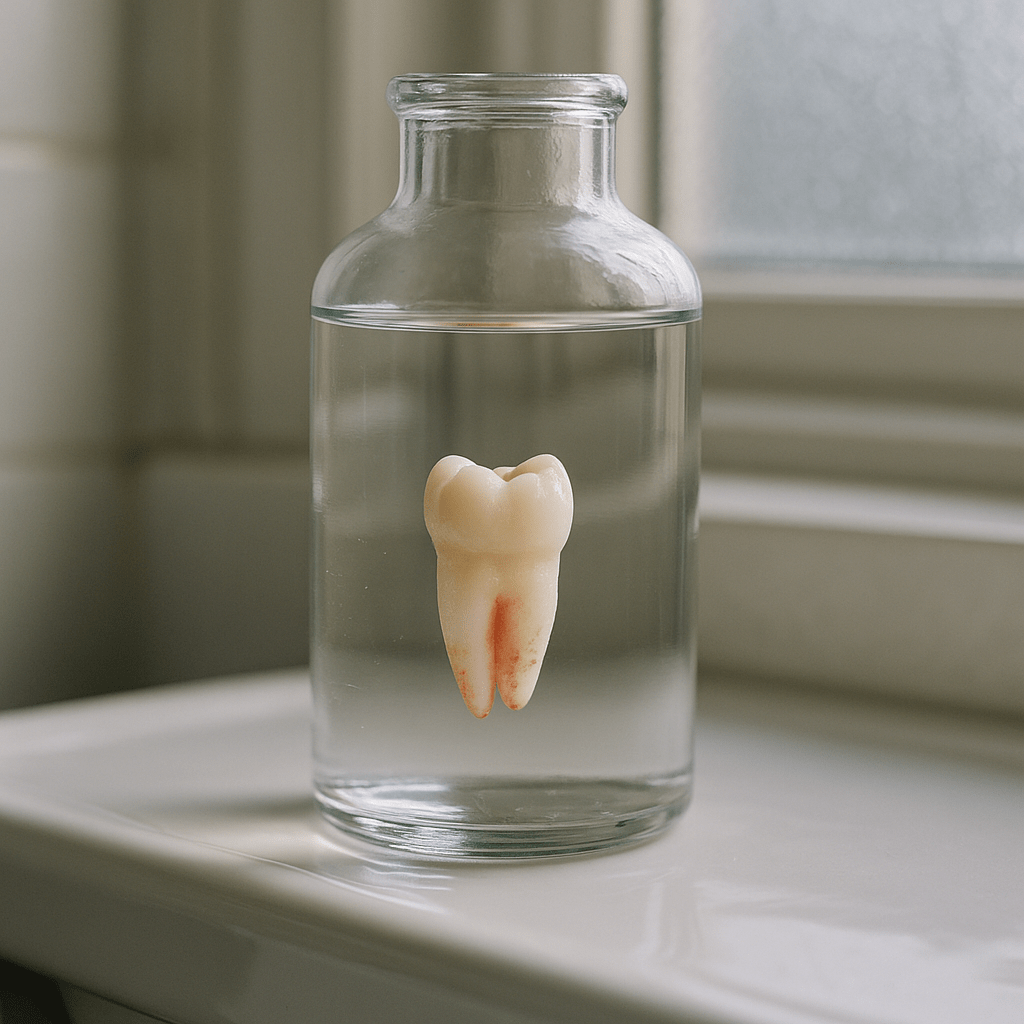
Here are the best options, in order of preference:
- Milk: Cold milk (dairy or non-dairy) is an excellent choice. It has a pH level and osmolality (salt balance) that is compatible with the root cells, helping to keep them alive. Place the tooth in a cup of milk.
- Saliva (in the mouth): If milk isn’t available and the person is old enough not to swallow the tooth, they can keep it in their mouth, between their cheek and gums. This keeps it moist in their own saliva. This is generally not recommended for young children due to the risk of swallowing.
- Saline solution: If you have access to sterile saline solution (like contact lens solution or a wound rinse), this is also a good option.
- Special tooth-saving kits (HBSS): Some sports first-aid kits contain a special medium called Hank’s Balanced Salt Solution (HBSS), which is ideal for preserving the tooth.
Crucial DO NOT’s for Storage:
- Do NOT store the tooth in tap water for more than a few minutes. Tap water is hypotonic, meaning it will cause the root cells to swell and burst, significantly reducing the chances of successful reattachment.
- Do NOT wrap the tooth in a tissue or cloth. This will cause it to dry out rapidly, killing the vital root cells.
- Do NOT allow the tooth to dry out at all.
Once the tooth is safely stored (or re-implanted), call your dentist or an emergency dental clinic immediately. Time is of the essence!
Explain what happened and that you have a chipped tooth. They will advise you on the quickest route to their office.
Here at Viva Dental Orangeville, we understand the urgency of such situations. We’re equipped to handle emergency dental care at Viva Dental Orangeville with prompt, compassionate attention.
What Happens When You Get to the Dentist?
When you arrive at Viva Dental Orangeville with a re-implanted or properly stored tooth, Dr. Sahar Rakhshanfar and her team will take over. They will:
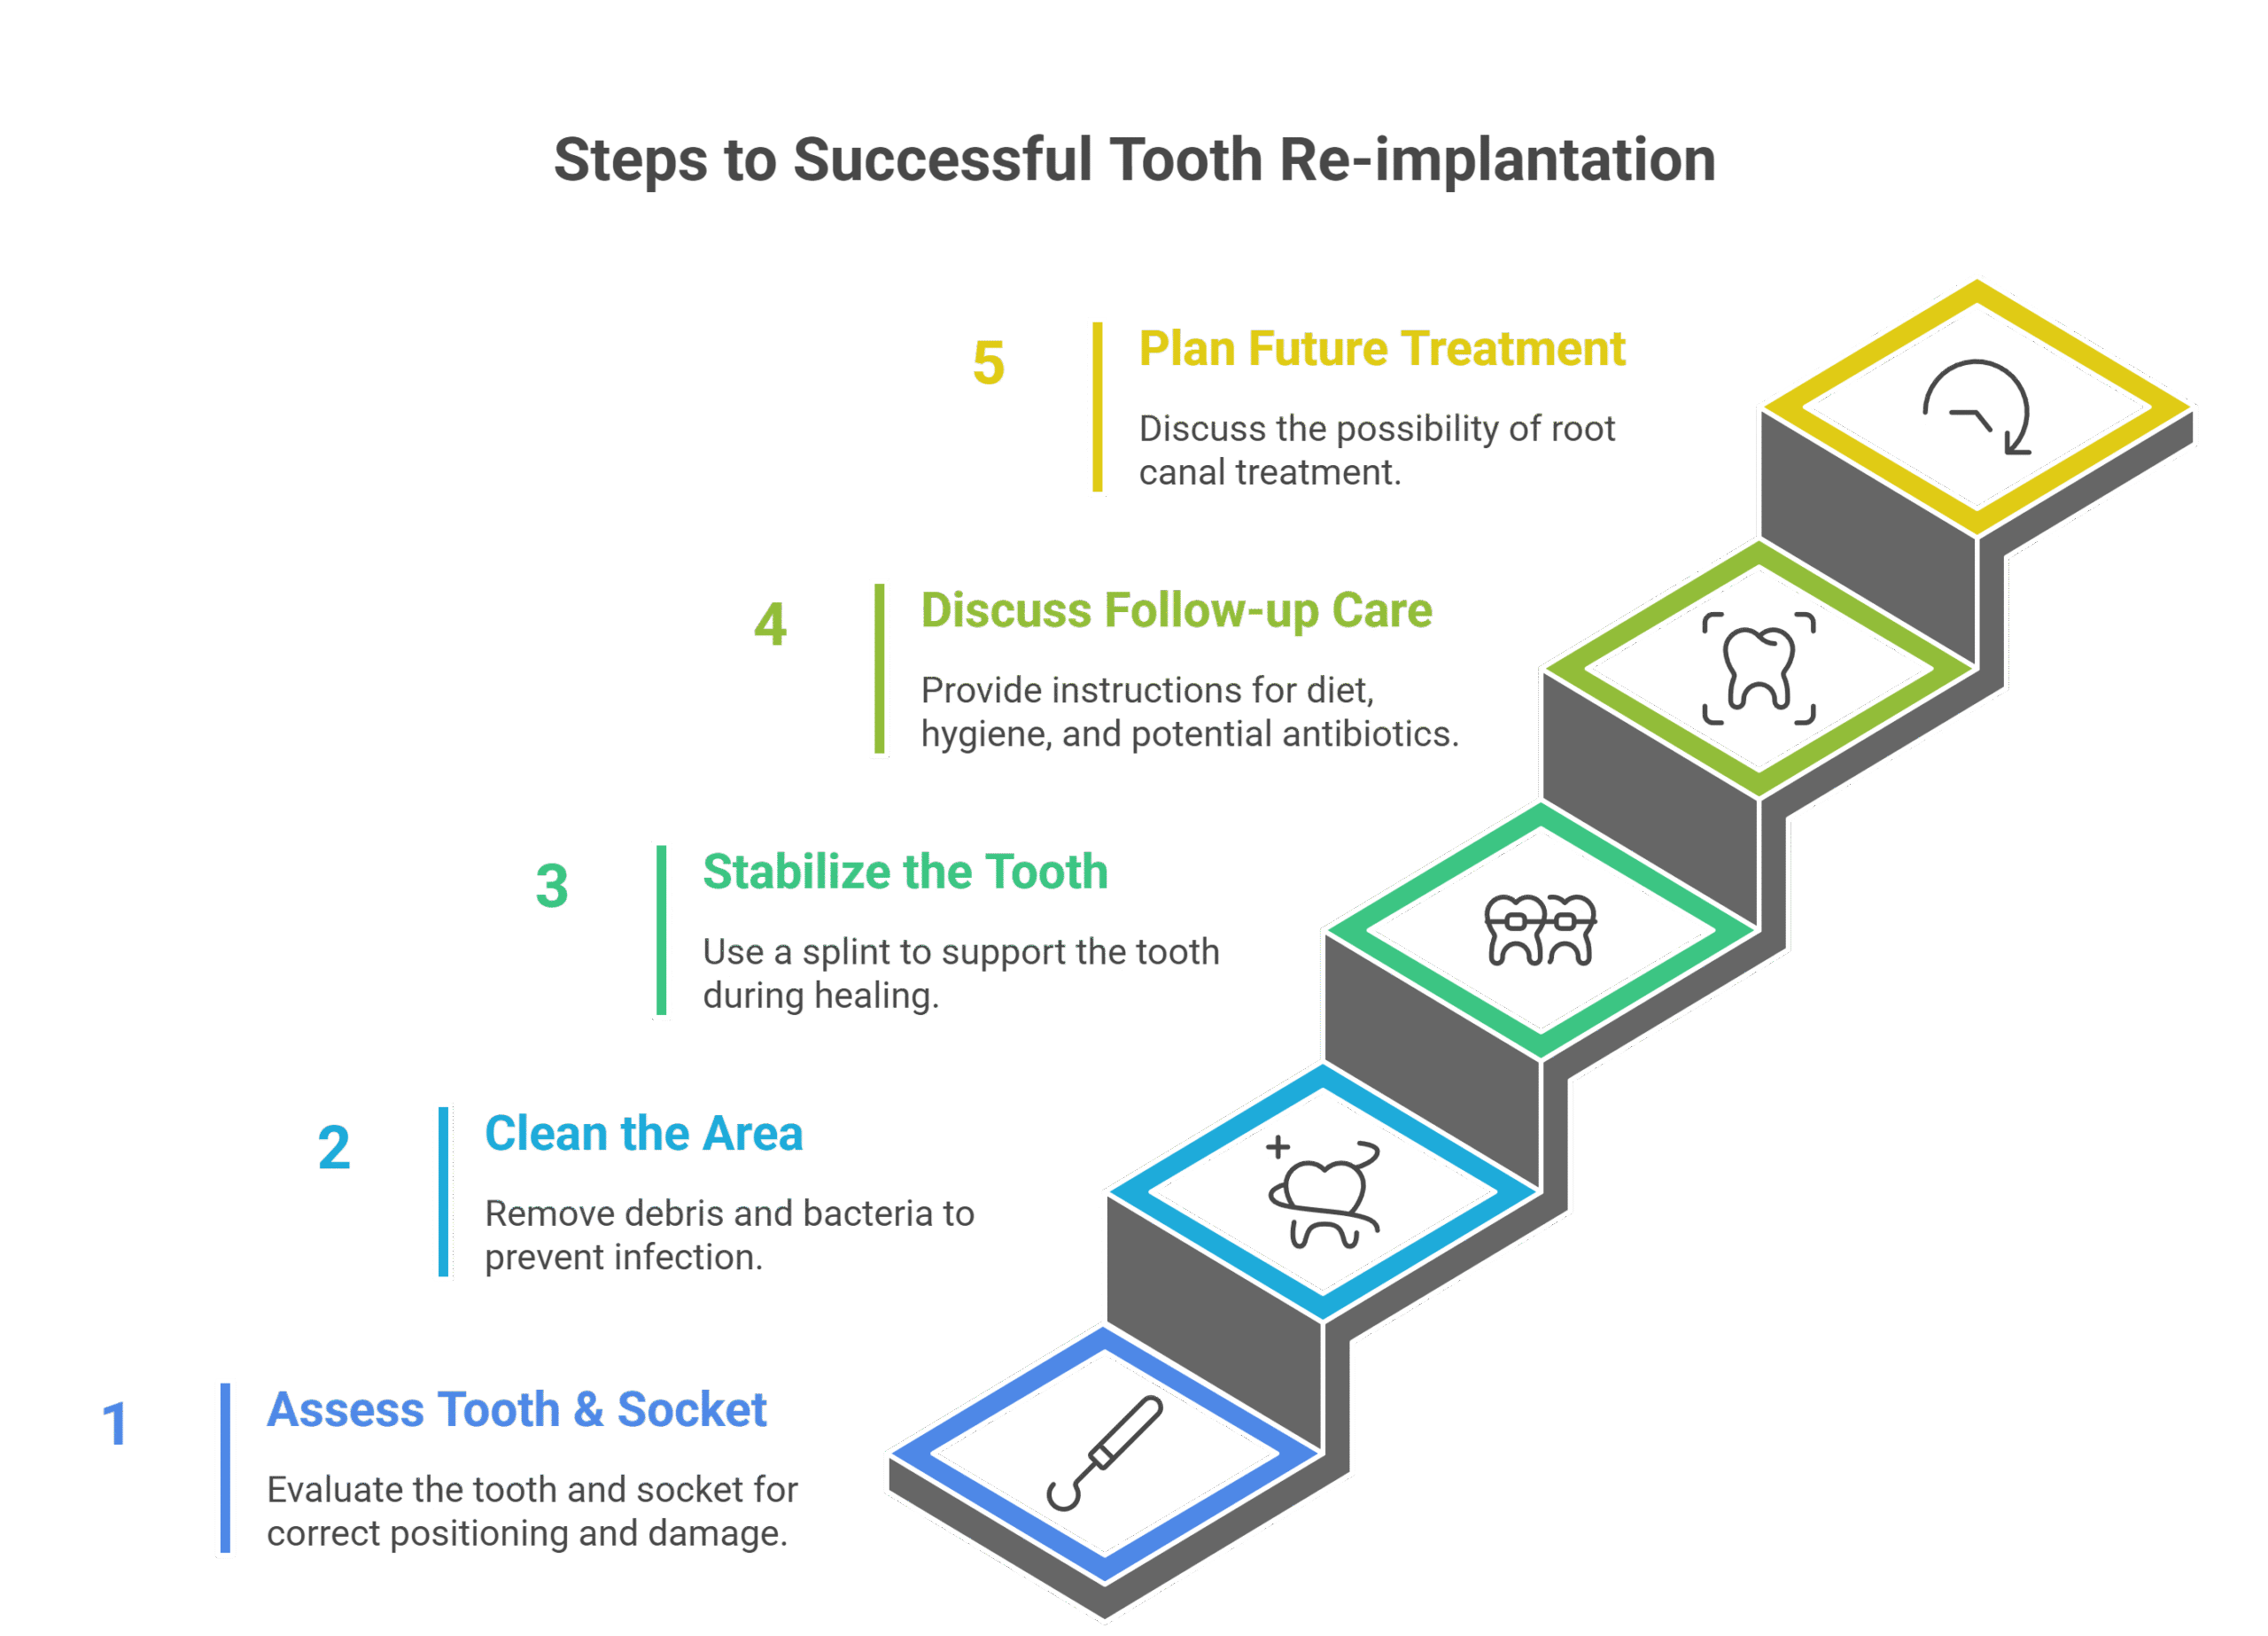
- Assess the tooth and socket: They’ll confirm it’s correctly positioned or gently re-insert it if you couldn’t.
- Clean the area: Ensure no debris remains.
- Stabilize the tooth: They’ll usually use a flexible dental splint (a thin wire or composite resin) to bond the injured tooth to its neighboring teeth for 1-2 weeks. This allows the PDL cells to heal and the tooth to reattach.
- Discuss follow-up care: This often includes a soft diet, gentle brushing, and possible antibiotics to prevent infection.
- Plan for future treatment: In many cases, especially if the tooth was out of the mouth for more than a few minutes, the tooth will eventually require a root canal treatment to prevent infection inside the tooth.
Common Mistakes That Can Cost You Your Tooth (And How to Avoid Them)
Knowing what not to do is just as important as knowing what to do. Here are some common errors:
- Scrubbing the tooth: This damages the delicate root cells. Remember, gentle rinsing only!
- Touching the root: Again, those PDL cells are precious. Hold by the crown only.
- Letting the tooth dry out: This is the quickest way to lose the tooth. Always keep it moist in an appropriate medium.
- Putting a baby tooth back in: As mentioned, this can harm the developing permanent tooth.
- Delaying dental care: The “golden hour” is real. Don’t wait!
Frequently Asked Questions About Chipped Teeth
You’re not alone if you have questions about this stressful situation. Here are answers to some common concerns:
Q1: Can a chipped baby tooth be saved?
No, you should never attempt to re-implant a chipped baby tooth. Re-inserting it can damage the permanent tooth developing underneath. Contact your dentist for advice on how to proceed.
Q2: What if I can’t find the tooth?
If the tooth cannot be found, your dentist will assess the area for other injuries and discuss options like a dental bridge or dental implants once the area has healed.
Q3: How long do I really have to get to the dentist?
While successful re-implantation is possible for up to a few hours, the best chances are within 30-60 minutes of the injury. Every minute counts!
Q4: What if the tooth is chipped, not fully out?
If the tooth is chipped, cracked, or only partially chipped (still in the socket but loose), do not try to re-position it yourself. This is a different type of trauma that requires immediate professional assessment from your dentist. Your dentist at Viva Dental Orangeville offers general dentistry services for various dental traumas.
Q5: Is it okay to put the tooth in tap water if I don’t have milk?
For very brief rinsing (less than 10 seconds), tap water is acceptable if the tooth is dirty. However, for storage, tap water is detrimental because its pH and osmolality will damage the root cells. If milk or saline isn’t available and re-implantation isn’t possible, saliva (in the cheek) is a better last resort for transport than tap water.
Your Smile’s Future Starts Now
A chipped adult tooth is a serious dental emergency, but it doesn’t have to mean a lost tooth. By understanding the critical importance of speed and proper handling, you can significantly increase the chances of saving your natural tooth. Remember these steps and be prepared. At Viva Dental Orangeville, we believe in empowering our community with knowledge. Our commitment to patient-centered care means we’re here to guide you through emergencies and provide our comprehensive range of services for a lifetime of healthy smiles. If you or someone you know experiences a chipped adult tooth, don’t hesitate. Contact Viva Dental Orangeville immediately at –
287 Broadway, Orangeville, Ontario, or visit vivadentalorangeville.com. We’re here to help.
Prevention, through actions like wearing mouthguards during sports, is also key! Learn more about protective measures through our children’s dentistry and general care programs.


